注意事项:
本文使用的frp版本为0.37.1,版本地址:https://github.com/fatedier/frp/releases/tag/v0.37.1
服务器环境为:Windows

一、下载frp
https://github.com/fatedier/frp/releases/download/v0.37.1/frp_0.37.1_windows_386.zip
二、服务器frps的配置文件frps.ini设置
[common]
#服务端监听地址 默认0.0.0.0
Bind_addr = 0.0.0.0
#服务端监听端口
bind_port = 7000
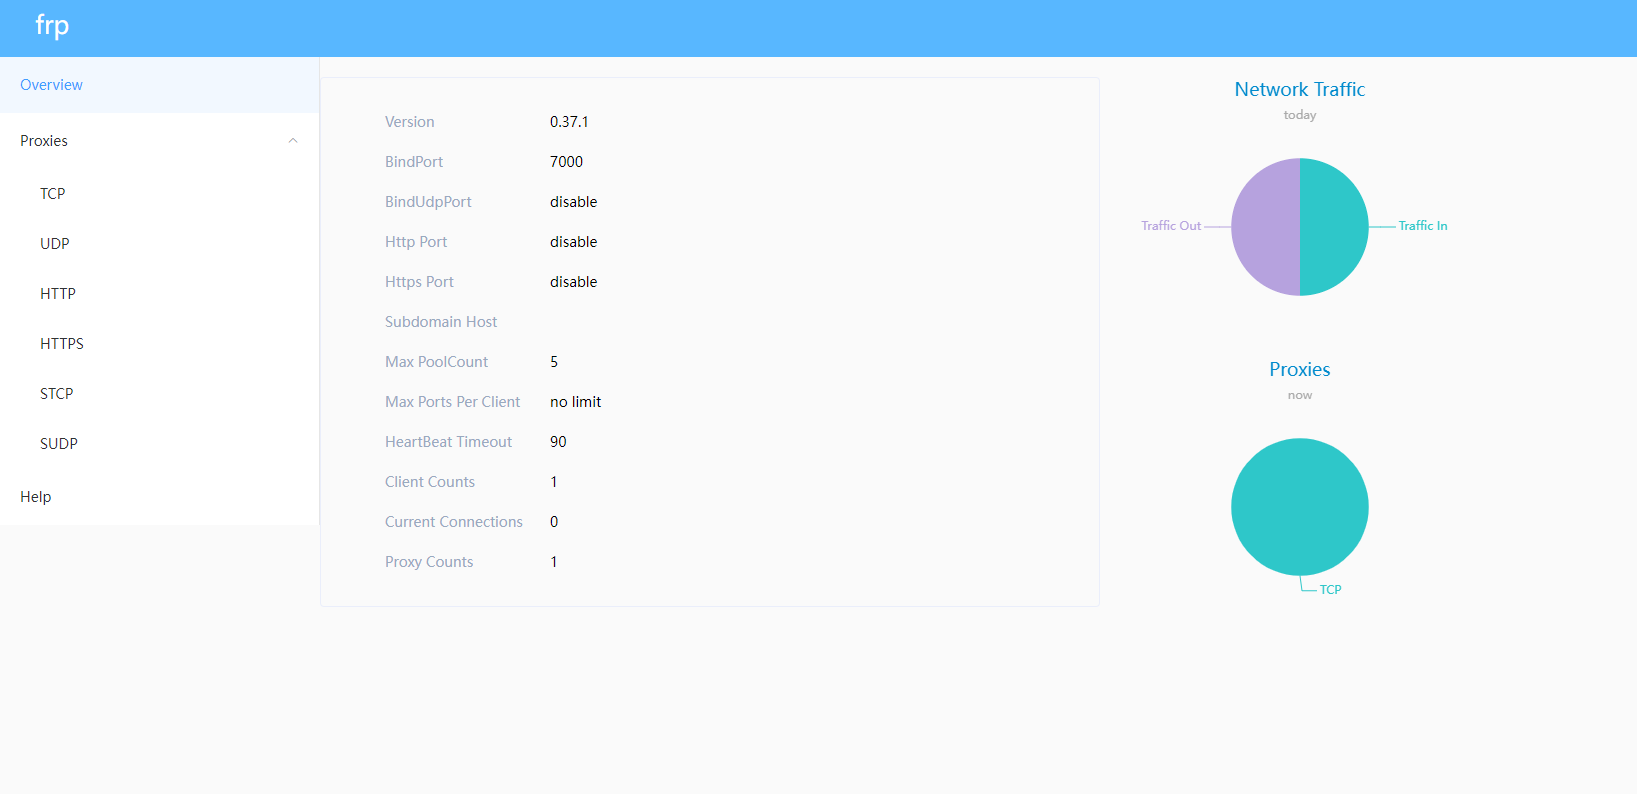
#状态以及代理统计信息展示,ip:7500可查看详情
dashboard_port = 7500
#访问用户
dashboard_user = admin
# dashboard_pwd访问密码
dashboard_pwd = password
#log_file日志文件
log_file = ./frps.log
# log_level记录的日志级别
log_level = info
# log_max_days日志留存3天
log_max_days = 3
#authentication_timeout超时时间
authentication_timeout = 0
#max_pool_count最大链接池,每个代理预先与后端服务器建立起指定数量的最大链接数
max_pool_count = 50
#允许代理绑定的服务端端口
allow_ports = 40000-50000
三、启动frps
./frps -c frps.ini
四、客户端frpc的配置文件frpc.ini设置(frp配置socks5)
[common]
#连接服务端的地址
server_addr = 服务器ip
#连接服务端的地址
server_port = 7000
#连接服务端的地址
tls_enable = ture
#连接服务端的地址
pool_count = 5

[plugin_socks]
type = tcp
remote_port = 46075
plugin = socks5
plugin_user = admin
plugin_passwd = admin123
# 是否加密
use_encryption = true
# 是否压缩
use_compression = true
五、启动frpc
./frpc -c frp.ini
六、服务端frps配置文件参数:
# [common] 是必需的
[common]
# ipv6的文本地址或主机名必须括在方括号中
# 如"[::1]:80", "[ipv6-host]:http" 或 "[ipv6-host%zone]:80"
bind_addr = 0.0.0.0
bind_port = 7000

# udp nat 穿透端口
bind_udp_port = 7001

# 用于 kcp 协议 的 udp 端口,可以与 "bind_port" 相同
# 如果此项不配置, 服务端的 kcp 将不会启用
kcp_bind_port = 7000

# 指定代理将侦听哪个地址,默认值与 bind_addr 相同
# proxy_bind_addr = 127.0.0.1

# 如果要支持虚拟主机,必须设置用于侦听的 http 端口(非必需项)
# 提示:http端口和https端口可以与 bind_port 相同
vhost_http_port = 80
vhost_https_port = 443

# 虚拟 http 服务器的响应头超时时间(秒),默认值为60s
# vhost_http_timeout = 60

# 设置 dashboard_addr 和 dashboard_port 用于查看 frps 仪表盘
# dashboard_addr 默认值与 bind_addr 相同
# 只有 dashboard_port 被设定,仪表盘才能生效
dashboard_addr = 0.0.0.0
dashboard_port = 7500

# 设置仪表盘用户密码,用于基础认证保护,默认为 admin/admin
dashboard_user = admin
dashboard_pwd = admin

# 仪表板资产目录(仅用于 debug 模式下)
# assets_dir = ./static
# 控制台或真实日志文件路径,如./frps.log
log_file = ./frps.log

# 日志级别,分为trace(跟踪)、debug(调试)、info(信息)、warn(警告)、error(错误)
log_level = info

# 最大日志记录天数
log_max_days = 3

# 认证 token
token = 12345678

# 心跳配置, 不建议对默认值进行修改
# heartbeat_timeout 默认值为 90
# heartbeat_timeout = 90

# 允许 frpc(客户端) 绑定的端口,不设置的情况下没有限制
allow_ports = 2000-3000,3001,3003,4000-50000

# 如果超过最大值,每个代理中的 pool_count 将更改为 max_pool_count
max_pool_count = 5

# 每个客户端可以使用最大端口数,默认值为0,表示没有限制
max_ports_per_client = 0

# 如果 subdomain_host 不为空, 可以在客户端配置文件中设置 子域名类型为 http 还是 https
# 当子域名为 test 时, 用于路由的主机为 test.frps.com
subdomain_host = frps.com

# 是否使用 tcp 流多路复用,默认值为 true
tcp_mux = true

# 对 http 请求设置自定义 404 页面
# custom_404_page = /path/to/404.html
七、客户端frpc配置文件参数
# [common] 是必需的
[common]
# ipv6的文本地址或主机名必须括在方括号中
# 如"[::1]:80", "[ipv6-host]:http" 或 "[ipv6-host%zone]:80"
server_addr = 0.0.0.0
server_port = 7000

# 如果要通过 http 代理或 socks5 代理连接 frps,可以在此处或全局代理中设置 http_proxy
# 只支持 tcp协议
# http_proxy = http://user:passwd@192.168.1.128:8080
# http_proxy = socks5://user:passwd@192.168.1.128:1080

# 控制台或真实日志文件路径,如./frps.log
log_file = ./frpc.log

# 日志级别,分为trace(跟踪)、debug(调试)、info(信息)、warn(警告)、error(错误)
log_level = info

# 最大日志记录天数
log_max_days = 3

# 认证 token
token = 12345678

# 设置能够通过 http api 控制客户端操作的管理地址
admin_addr = 127.0.0.1
admin_port = 7400
admin_user = admin
admin_pwd = admin

# 将提前建立连接,默认值为 0
pool_count = 5

# 是否使用 tcp 流多路复用,默认值为 true,必需与服务端相同
tcp_mux = true

# 在此处设置用户名后,代理名称将设置为 {用户名}.{代理名}
user = your_name

# 决定第一次登录失败时是否退出程序,否则继续重新登录到 frps
# 默认为 true
login_fail_exit = true

# 用于连接到服务器的通信协议
# 目前支持 tcp/kcp/websocket, 默认 tcp
protocol = tcp

# 如果 tls_enable 为 true, frpc 将会通过 tls 连接 frps
tls_enable = true

# 指定 DNS 服务器
# dns_server = 8.8.8.8

# 代理名, 使用 ',' 分隔
# 默认为空, 表示全部代理
# start = ssh,dns

# 心跳配置, 不建议对默认值进行修改
# heartbeat_interval 默认为 10 heartbeat_timeout 默认为 90
# heartbeat_interval = 30
# heartbeat_timeout = 90

# 'ssh' 是一个特殊代理名称
[ssh]
# 协议 tcp | udp | http | https | stcp | xtcp, 默认 tcp
type = tcp
local_ip = 127.0.0.1
local_port = 22
# 是否加密, 默认为 false
use_encryption = false
# 是否压缩
use_compression = false
# 服务端端口
remote_port = 6001
# frps 将为同一组中的代理进行负载平衡连接
group = test_group
# 组应该有相同的组密钥
group_key = 123456
# 为后端服务开启健康检查, 目前支持 'tcp' 和 'http'
# frpc 将连接本地服务的端口以检测其健康状态
health_check_type = tcp
# 健康检查连接超时
health_check_timeout_s = 3
# 连续 3 次失败, 代理将会从服务端中被移除
health_check_max_failed = 3
# 健康检查时间间隔
health_check_interval_s = 10

[ssh_random]
type = tcp
local_ip = 127.0.0.1
local_port = 22
# 如果 remote_port 为 0 ,frps 将为您分配一个随机端口
remote_port = 0

# 如果要暴露多个端口, 在区块名称前添加 'range:' 前缀
# frpc 将会生成多个代理,如 'tcp_port_6010', 'tcp_port_6011'
[range:tcp_port]
type = tcp
local_ip = 127.0.0.1
local_port = 6010-6020,6022,6024-6028
remote_port = 6010-6020,6022,6024-6028
use_encryption = false
use_compression = false

[dns]
type = udp
local_ip = 114.114.114.114
local_port = 53
remote_port = 6002
use_encryption = false
use_compression = false

[range:udp_port]
type = udp
local_ip = 127.0.0.1
local_port = 6010-6020
remote_port = 6010-6020
use_encryption = false
use_compression = false

# 将域名解析到 [server_addr] 可以使用 http://web01.yourdomain.com 访问 web01
[web01]
type = http
local_ip = 127.0.0.1
local_port = 80
use_encryption = false
use_compression = true
# http 协议认证
http_user = admin
http_pwd = admin
# 如果服务端域名为 frps.com, 可以通过 http://test.frps.com 来访问 [web01]
subdomain = web01
custom_domains = web02.yourdomain.com
# locations 仅可用于HTTP类型
locations = /,/pic
host_header_rewrite = example.com
# params with prefix "header_" will be used to update http request headers
header_X-From-Where = frp
health_check_type = http
# frpc 将会发送一个 GET http 请求 '/status' 来定位http服务
# http 服务返回 2xx 状态码时即为存活
health_check_url = /status
health_check_interval_s = 10
health_check_max_failed = 3
health_check_timeout_s = 3

[web02]
type = https
local_ip = 127.0.0.1
local_port = 8000
use_encryption = false
use_compression = false
subdomain = web01
custom_domains = web02.yourdomain.com
# v1 或 v2 或 空
proxy_protocol_version = v2

[plugin_unix_domain_socket]
type = tcp
remote_port = 6003
plugin = unix_domain_socket
plugin_unix_path = /var/run/docker.sock

[plugin_http_proxy]
type = tcp
remote_port = 6004
plugin = http_proxy
plugin_http_user = abc
plugin_http_passwd = abc

[plugin_socks5]
type = tcp
remote_port = 6005
plugin = socks5
plugin_user = abc
plugin_passwd = abc

[plugin_static_file]
type = tcp
remote_port = 6006
plugin = static_file
plugin_local_path = /var/www/blog
plugin_strip_prefix = static
plugin_http_user = abc
plugin_http_passwd = abc

[plugin_https2http]
type = https
custom_domains = test.yourdomain.com
plugin = https2http
plugin_local_addr = 127.0.0.1:80
plugin_crt_path = ./server.crt
plugin_key_path = ./server.key
plugin_host_header_rewrite = 127.0.0.1

[secret_tcp]
# 如果类型为 secret tcp, remote_port 将失效
type = stcp
# sk 用来进行访客认证
sk = abcdefg
local_ip = 127.0.0.1
local_port = 22
use_encryption = false
use_compression = false

# 访客端及服务端的用户名应该相同
[secret_tcp_visitor]
# frpc role visitor -> frps -> frpc role server
role = visitor
type = stcp
# 要访问的服务器名称
server_name = secret_tcp
sk = abcdefg
# 将此地址连接到访客 stcp 服务器
bind_addr = 127.0.0.1
bind_port = 9000
use_encryption = false
use_compression = false

[p2p_tcp]
type = xtcp
sk = abcdefg
local_ip = 127.0.0.1
local_port = 22
use_encryption = false
use_compression = false

[p2p_tcp_visitor]
role = visitor
type = xtcp
server_name = p2p_tcp
sk = abcdefg
bind_addr = 127.0.0.1
bind_port = 9001
use_encryption = false
use_compression = false

如需帮助请联系客服
原创文章,作者:神经蛙,如若转载,请注明出处:https://www.waoyou.com/819.html